
before-

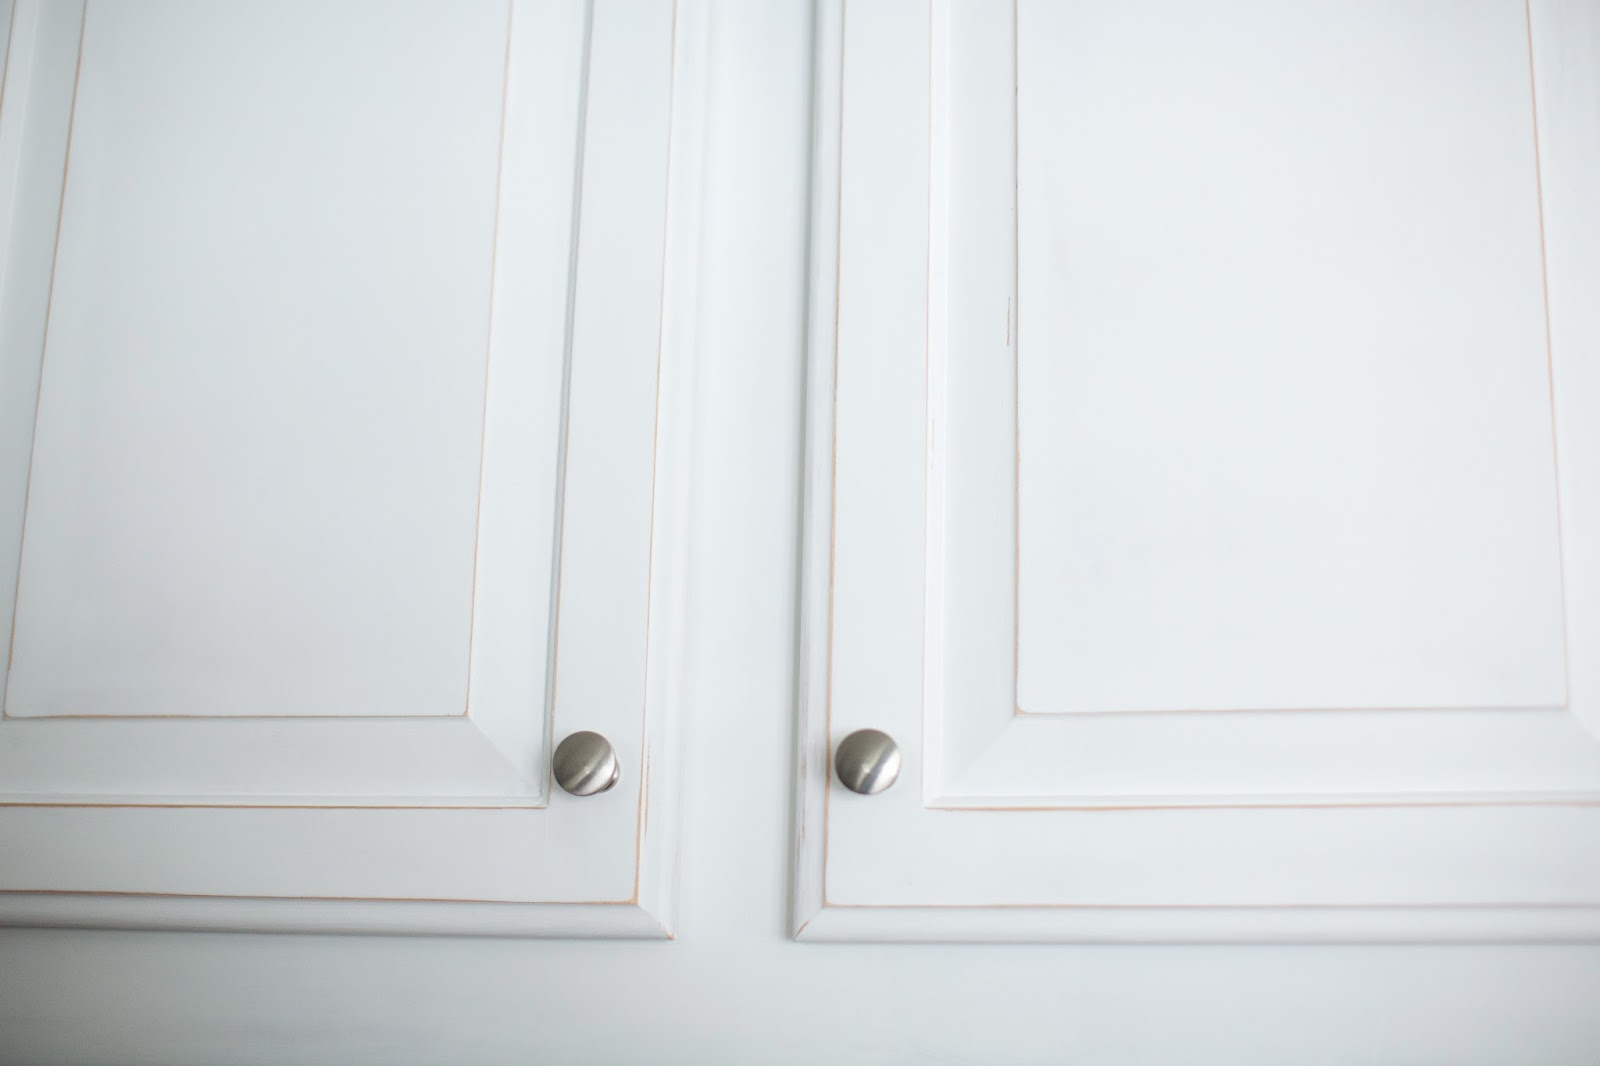
after-
Why did I choose Annie Sloan Chalk Paint? It was a hard battle between oil paint and chalk paint. I did a lot of research, reading many blogs and talking to different people who have used both. I made up my mind, after I completed an Annie Sloan workshop at Consign-It Furniture Store in Kennett Square, that I can do this!


tools you need:
- Degreaser Solvent
- FrogTape
- Benjamin Moore Advance Primer
- Annie Sloan Chalk Paint, I used 3 quarts
- Annie Sloan Clear Wax
- Annie Sloan Wax Brush
- White Lint Free Shop Rags, lots
- Sand Paper, blocks and sheets 300 grit and 600 grit
- 1 1/2 inch angled brush
- Cabinet Foam Roller 2 -3
- roller pan
- Dust Mask
- Googles
- Plastic Sheet
The Steps I took to complete my project:
- I left all my cabinets and drawers in place. I find it much easier to edge around the hinges and tape only around the ceilings.
- I cleaned the cabinets with a degreasing solution, then wiped down. This is a very important step. If you skip this step, the paint will not stick.
- You do not need to sand before you paint with Annie Sloan Chalk Paint! yeah..
- I primed all my cabinets with using the angled brush and a foam roller. You do not have to prime per Annie Sloan, but for a kitchen that gets high use, I rather be safe then sorry. It also saves you for doing many coats of ASCP.
- Light sand to smooth the surface
- I painted all the edges with Annie Sloan Chalk Paint with a 1 1/2 inch angled brush.
- Then I rolled the cabinets and doors with the ASCP. It dries very quickly. Since I previously primed, I only need 2 coats. A trick to get a smooth finish, during the second coat add water to your brush and roller to get a thinner coat of paint. Works great.
- Let the cabinets and drawers dry all the way, let it sit overnight.
- This next step is the hardest and most important. This is when you need to put on your face mask and googles. Another tip is to get a plastic sheet to cover all the door ways and appliances (I learned the hard way). To get a baby butt smooth finish to your cabinets, you need to sand. I started with the 300 grit then moved on to the 600 grit to polish them. If you want the distressed edges now is the time to do it.
- When to stop sanding? When you feel that the cabinets are smooth to touch and you can not see paint brush strokes. You need to wipe down all surfaces and clean up, and clean, and clean. It makes a lot of dust!
- Now it's time to wax. This is what I took a workshop on. You do not want to screw this part up after all your hard work. Too much wax is not your friend. Find a local class and take it before starting this big of a project. You can use the Annie Sloan Wax Brush or the lint free shop rags to wipe on the wax. Very LITTLE! Do a small spot in a circle motion.
- Remember- Wax On, Wax Off, Daniel Son. In a circle motion wax on, then with the clean rag wipe off. Keep wiping off till you feel no pull on the rag and it's smooth to touch.
- Then move on to the next section, it's ok and you should overlap where you previously just waxed. You do not want to leave any spot unwaxed.
- The wax will take up to 30 days to cure. During the 30 days, ou do have to be carful with your cabinets.
You can visit many sites on Pinterest which have tips for using Annie Sloan Chalk Paint.

No comments:
Post a Comment